Solar energy stands out as a pure and plentiful energy source in a time when renewable energy sources are increasing in popularity. Sustainable living now includes solar panels, which use sunshine to create electricity. Although it’s easy to find solar panels made by businesses, you may also create your own for less money by using common home materials.
In this article, we’ll walk you through the process of making a practical solar panel using materials that are widely accessible and found in most homes. So let’s get started and investigate how you may use the sun’s energy to create electricity at home!
Understanding the Basics of Solar Panels
Prior to starting the DIY process, it’s crucial to understand the underlying ideas behind solar panels. Solar panels’ photovoltaic cells are responsible for the photovoltaic effect, which converts sunlight into electricity.
Typically, silicon is used to make these cells. Silicon is a semi-conductive substance that produces an electric current when exposed to light. The PV cells are wired together and encapsulated within a protective enclosure to form a solar panel.
How to make a solar panel using a CD
Step 1: Prepare the CD and copper wires
Start by applying glue to the center hole of the CD and attaching one end of a copper wire to it. Now, extend the wire to the outer edge of the CD and bring it back to the center, creating a pattern that resembles a flower. Repeat this process, gluing multiple copper wires to the CD until most of its surface is covered. Before moving on to the next stage, let the adhesive cure.

Step 2: Add the Zener diodes
Once the copper wires are securely glued to the CD, it’s time to attach the Zener diodes. Place the Zener diodes between the copper wires, ensuring that one end of each diode is left free for later connection. Solder the Zener diode’s free end to the ends of the corresponding copper wires.
Step 3: Connect the insulated wires
After attaching the Zener diodes, it’s time to connect the insulated wires. Solder the ends of the insulated wires to the ends of the copper wires, making sure to establish a secure connection. These insulated wires will be used to transfer the generated electricity from the solar panel.
Step 4: Test the solar panel
Set up your DIY solar panel in a sunny area to check its operation. Connect the insulated wires from the solar panel to the voltmeter. If everything is correctly assembled, the voltmeter should detect a current when the panel is exposed to sunlight. Conversely, when you cover the solar panel, the voltmeter should register little to no current. This confirms that your solar panel is working properly.
By following these four steps, you have successfully created a solar panel using a CD, copper wires, Zener diodes, insulated electrical wire, glue, soldering iron, wire cutters, and a voltmeter.
How to Create Your Own Solar Panel Using Aluminum Foil
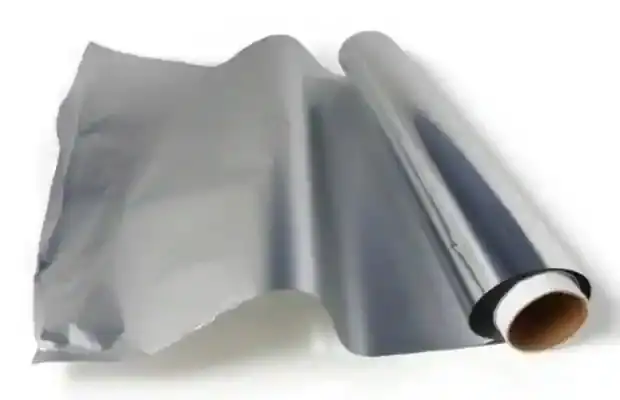
Step 1: Secure the copper wire to the glass
To begin making a homemade solar panel using aluminum foil, start by obtaining a square-shaped glass. Place the copper wire’s shorter end on the glass and extend it to the longer end. Use glue to attach the copper wire to the glass firmly. Repeat this process until you have covered the entire glass surface with copper wire.
Step 2: Apply aluminum foil to cover the glass
Once the copper wires are securely in place on the glass and have dried, proceed to cover the glass entirely with aluminum foil. A piece of aluminum foil that is larger than the glass should be cut and used to ensure that the glass is properly covered. It is important to ensure that both ends of the copper wires are exposed so that they can be connected to power your desired appliance.
Step 3: Test the functionality of your DIY solar panel
After completing the assembly of your panel, it is time to test its effectiveness. Connect the copper wires of your panel to the wires of a voltmeter. Position your panel in a sunny location, and you will observe the voltmeter registering a current. This indicates that your homemade solar panel, made with aluminum foil, is working successfully.
How to Create Your Own Solar Heater Using Soda Cans
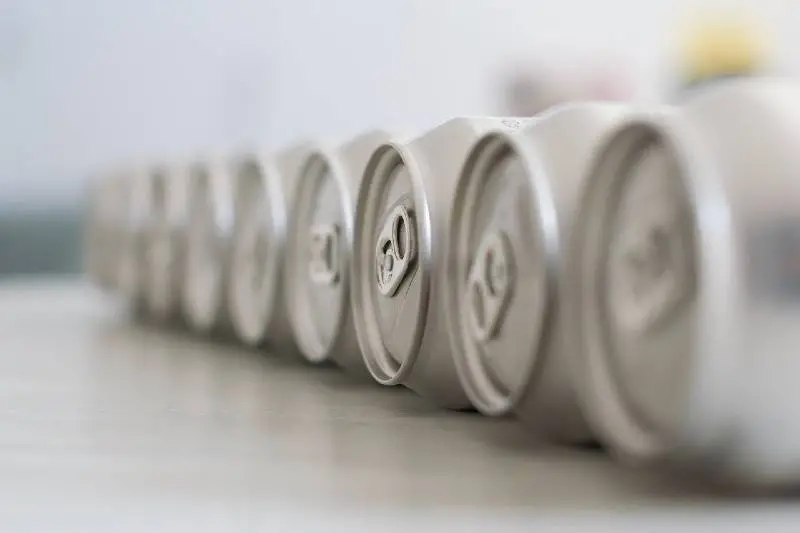
Step 1: Prepare the soda cans
To begin making a solar panel using soda cans, start by cutting the top and removing the bottom fin of each can. The number of cans you’ll need depends on the desired size of the panel. You may require anywhere from a few dozen to hundreds of soda cans. This cutting technique and arrangement of the cans will create a turbulent airflow, enhancing heat accumulation within the panel.
Step 2: Assemble the soda cans
Once the cans are prepared, it’s time to join them together to form the panel. Use silicon adhesive to firmly bond the cans together by stacking them on top of one another. The choice of silicon adhesive is crucial due to its excellent resistance to high temperatures, capable of withstanding over 400 degrees Fahrenheit.
Step 3: Construct the frame
In this step, you’ll create a frame to hold the assembled cans. Choose an appropriately sized wooden or metal frame that can accommodate the cans. To allow for optimum sunlight absorption, the front of the frame should be constructed of glass or polycarbonate, while the back might be made of metal or wood. Applying a coat of black spray paint to both the cans and the frame will enhance sunlight absorption.
Step 4: Install the air tubes
Install an intake tube at the top of the frame and an outtake tube at the bottom. Ensure that any gaps in the frame are filled with soda cans or silicon adhesive to maintain a sealed structure. This will optimize the airflow within the panel.
Step 5: Test your DIY solar panel
For the final step, attach an exhaust fan near the intake tube to draw in cool air from the surroundings into the panel. Connect a second fan to the output tube to return the warmed air to your living area. This testing phase will help determine the efficiency and functionality of your homemade solar panel.
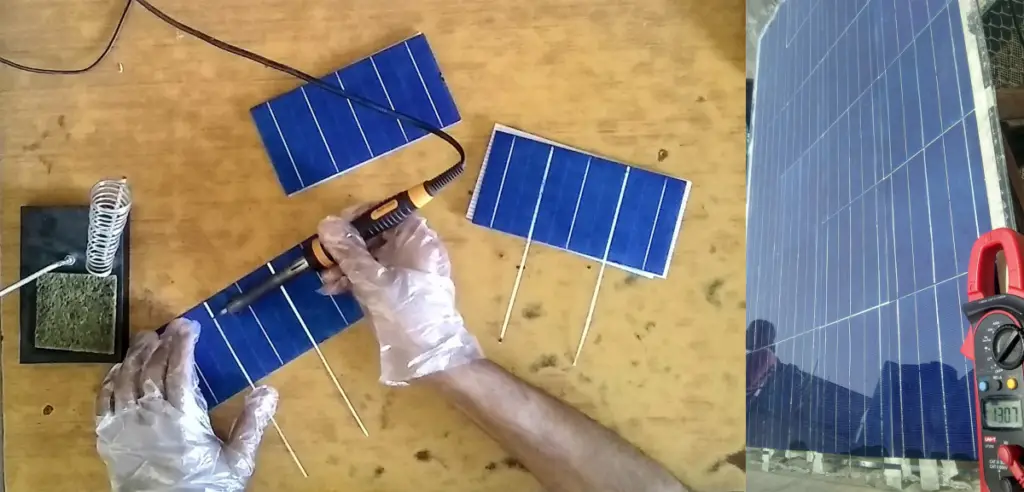
How to make a household solar panel with blades
Step 1: Attaching the Blades
To begin making a household solar panel with blades, start by attaching the blades to a piece of cardboard. Apply glue to one side of the cardboard and place the blades close to each other on that side. Repeat the same process on the other side of the cardboard to create a bifacial DIY solar panel.
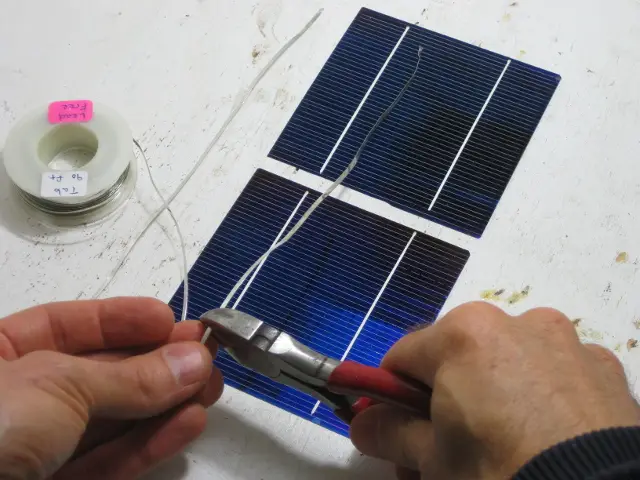
Step 2: Connecting the Blades
Once the blades are securely glued to the cardboard, proceed to connect them using copper wires. Apply glue to the first side of the panel and affix a copper wire. Repeat this step for the blades on the other side. Alternatively, you can use aluminum foil as a substitute for copper wires to connect the blades.
Step 3: Testing the Panel
After completing the connection of the blades, it’s time to test your panel. Connect a voltmeter to the two copper wire sets that you have. Ensure that you place your panel in a sunny location. The voltmeter will help you measure the electrical output of your solar panel.
Pros Of Creating Solar Panel At Home:
Cost Savings: Making your own solar panels from common home items can be far less expensive than buying ones that are made commercially. This may increase the affordability of solar energy for people on a limited budget.
DIY satisfaction: Constructing a solar panel on your own can be a fun and informative experience. It enables you to comprehend solar energy and green technology more thoroughly.
Customization: You have the freedom to design your own solar panel to meet your individual demands and specifications. You can modify the design to fit your available space or increase its usefulness where you are.
Environmental friendliness: By turning ordinary household items into solar panels, you generate less trash and have a smaller negative impact on the environment. It encourages upcycling and recycling techniques.
Cons Of Creating Solar Panel At Home:
Limited efficiency: DIY solar panels might not be as effective as those produced by experts. While handmade solar panels might not perform as well, commercial solar panels are created and calibrated to optimum energy conversion.
Durability and longevity: It’s possible that homemade solar panels won’t survive as long as ones built by businesses. Commercial panels are made to survive severe weather and keep performing for an extended period of time. The lifespan and maintenance requirements of homemade panels may be shorter.
Safety concerns: Knowledge and expertise are necessary to ensure safety when working with electrical parts and wiring. Electrical shocks or fires can result from improper wiring or handling of electrical connections. When making your own solar panels, it’s crucial to understand electrical safety measures.
Maintenance and Safety
The following maintenance advice will help your DIY solar panel last a long time and perform efficiently:
- Keep the solar panel’s surface clean to prevent dirt, dust, and other debris from obstructing sunlight absorption.
- Inspect the wiring connections periodically to ensure they remain intact and corrosion-free.
- Protect the panel from extreme weather conditions, such as heavy rain or snow, as they can damage the cells or the protective covering.
- Safely secure and mount the panel to prevent accidents or damage due to strong winds or other external factors. Additionally, it is important to prioritize safety during the construction and operation of your DIY solar panel.
Take the following precautions:
- When handling and soldering materials, use appropriate safety equipment, such as gloves and safety glasses.
- Ensure proper ventilation in the workspace to avoid inhaling toxic fumes from soldering or adhesives.
- Avoid working on the solar panel during inclement weather or when it is wet.
- Disconnect the panel from the charge controller or battery before performing any maintenance or repairs.
FAQs
Why should silicone adhesive be used in solar panels?
Since solar panels are typically located in areas with strong sunshine, we usually advise using silicon adhesive when making homemade solar panels. High resistance to temperatures of up to 400 degrees Fahrenheit is possessed by the silicon adhesive.
Why is a voltmeter necessary for our solar panel system?
We need a voltmeter for our solar panel setup to examine the current flowing through the solar panels. We can verify the functionality of our solar panel setup using a voltmeter. It also aids in understanding how our DIY solar panels function.
How durable are homemade solar panels?
Although standard solar panels can last up to 25 years, they still require routine maintenance. As a result, DIY solar panels are produced in homes using common household items, but because the quality is not guaranteed, they may need to be handled carefully. As a result, we are currently figuring out how long DIY solar panels will last.
Conclusion
Building a solar panel with household items can be a rewarding and educational experience. Although it may not match the efficiency of commercially manufactured panels, it is a good starting point for understanding the fundamental ideas of solar power generation because it serves as such an ideal starting point.
By reusing materials and embracing a DIY approach, you can contribute to a greener future while learning valuable skills. So grab your supplies, follow the instructions in this article, and start building your own solar panel to harness the sun’s energy.