Testing your solar panels is one of the greatest ways to obtain an accurate reading of their actual power production. It makes logical that many individuals test their solar panels on a fairly regular basis, given that the output and efficiency of your solar panels will have a drastic impact on the overall power capabilities of your solar power system.
You’ve come to the right site if you want to learn how to test solar panels. We shall describe how to measure the amperage and current of solar panels. Finally, we’ll measure solar panel output in watts. We’ll also go through how to test the voltage of your solar panels using a multimeter.
Before going to the testing phase, let us first understand why it is important to test solar panels in the first place.
Why Is Testing Your Solar Panels Important?
A solar panel’s power rating from the manufacturer, which is given, simply indicates how much electricity it is capable of producing under ideal conditions. Solar panels, however, are hardly ever exposed to the best circumstances for longer than a few hours each day.
The number of peak sun hours per day, the outside temperature, shading issues, the location of the solar panels, the direction the solar panels are facing, and the particular season the solar panels are being used are some of the variables that can affect the power output and efficiency of solar panels.

You may test your solar panels to determine how much solar power they are actually producing. This will not only enable you to modify your expectations to more truly reflect the true potential of your solar panels, but it will also enable you to determine whether you need to purchase additional solar panels or just move the ones you currently have in place.
Basically, by testing your solar panels, you can ensure that they are producing enough power to suit your demands and determine whether you need to replace them in order to improve their performance and receive the most solar electricity possible from your system.
How to test a Solar Panel
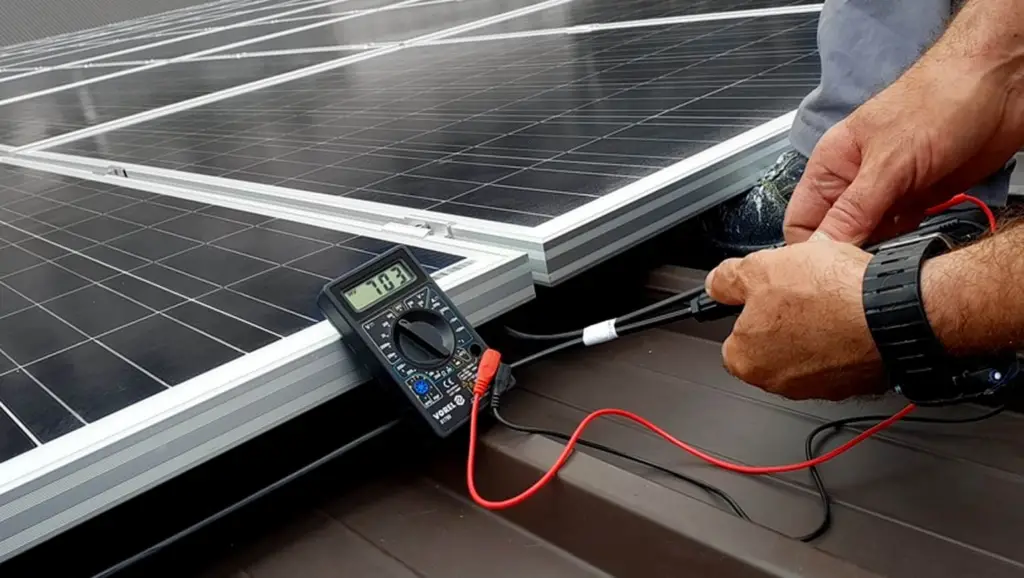
How to Use a Multimeter to Check a Solar Panel
When evaluating solar panels, your multimeter is your closest buddy, and it is necessary for this kind of testing.

It can be used to verify:
- Voltage of an open circuit (Voc)
- Current in a short circuit (Isc)
- Current at max power (Imp)
Measure Open Circuit Voltage (Voc)
- On the label on the back of your solar panel, look for the open circuit voltage (Voc).
- Connect the red probe to the voltage terminal and the black probe to the COM terminal to set up your multimeter.
- Set the DC voltage setting and the appropriate voltage range on the multimeter.
- Bring your solar panel outside, and position it in the sun.
- Determine the cables for the positive and negative solar panels.
- The positive MC4 connector should get the red probe, and the negative MC4 connector should receive the black probe.
- Compare the voltage you read on the multimeter to the Voc indicated on the panel.
- The condition of your panel is probably fine if the voltage is similar. If not, try troubleshooting.
Measure Short Circuit Current (Isc)
- Look for the short circuit current (Isc) figure on the panel’s label at the back.
- The red probe on your multimeter should be placed on the amperage terminal, and it should be set to the amp (A) setting.
- Make sure that the fuse size on your multimeter is greater than the panel’s Isc value.
- Place the panel in the sun with a towel covering it for the time being.
- Connect the black probe to the negative MC4 connector while applying the red probe to the positive MC4 connector.
- Take off the towel, check the multimeter’s reading of the current, and compare it to the Isc indicated on the panel.
- Your panel is operating properly if the measured current is similar. Try troubleshooting if not.

Measure Operating Current (PV Current)
- Connect the battery to the solar charge controller and the charge controller to the solar panel.
- Connect the charge controller with adapter cables and with the negative adapter cable to the negative solar cable.
- Place the solar panel so that it is not producing power and set the multimeter to measure amps.
- Connect the black multimeter probe to the charge controller’s MC4 connector and the red multimeter probe to the positive MC4 connector.
- Connect the positive solar panel cable to the multimeter in line with it.
- Take off any coverings from the solar panel, then use a multimeter to read the amperage to calculate the current output.
- To determine how near to the maximum output the measured current is, compare it to the panel’s maximum power current (Imp).
- Remember that panels normally produce between 70 and 80 per cent of their rated power output, and that output can be impacted by things like tilt angle and direction.
How to Use a Clamp Meter to Check Solar Panel Amps
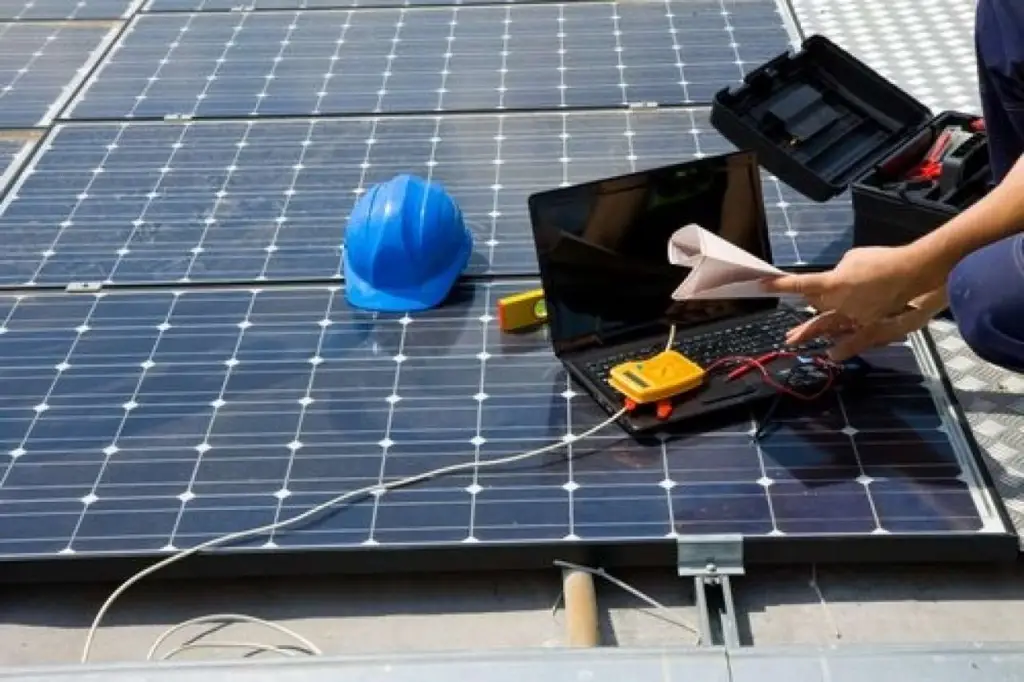
The amount of current flowing through a wire can be measured using a clamp meter, also known as an ammeter. You can use one to determine whether the expected amount of amps from your solar panels is being produced.
Because you can test solar panels without having to disconnect them, a clamp meter makes the process exceedingly rapid and convenient.
Prepare Your Clamp Meter for DC Amp Measurement
- Set the clamp meter’s dial to the lowest amperage value.
- Change your clamp meter to the DC current mode if it is set to measure AC current by default.
- If necessary, zero out the reading.
Measure the Solar Panel’s Current
- One of the cables from the solar panel should be inserted into the clamp meter’s opening.
- Check the meter’s current reading before closing the jaws.
- If the clamp meter is pointed in the opposite way and you still receive a negative current reading, try clamping the other wire.
- Keep in mind that clamping both wires at once will result in a reading of 0 amps.
Compared to the panel’s maximum power current, compare your current reading.

Find the panel’s current at maximum power (Imp) on the label on the back of your solar panel. Contrast the panel’s Imp value with the present reading from the clamp meter. Your current reading should roughly match the Imp of the panel, but it need not be exact.
Try the following if your current reading is much below the Imp of the panel:
- Make that the clamp meter is set to the correct amperage range and the DC current mode.
- If necessary, zero out the DC current reading.
- With your meter, only clamp one wire at a time.
- Make sure there are no barriers or shades between the solar panel and the sun.
- Verify sure the solar panel is facing the sun. The solar panel should be cleaned.
- Check to see if your battery is still charging, as this can alter the output of the panel. If necessary, slightly discharge the battery.
- After doing the aforementioned measures, the panel may be damaged if it continues to deliver substantially less current than anticipated.
- For each solar panel in your system, follow these instructions once more. Continue your investigation and disconnect that particular panel if you discover one with a current value that is noticeably lower than its Imp value.
How to Use a Solar Charge Controller to Test the Output of Solar Panels
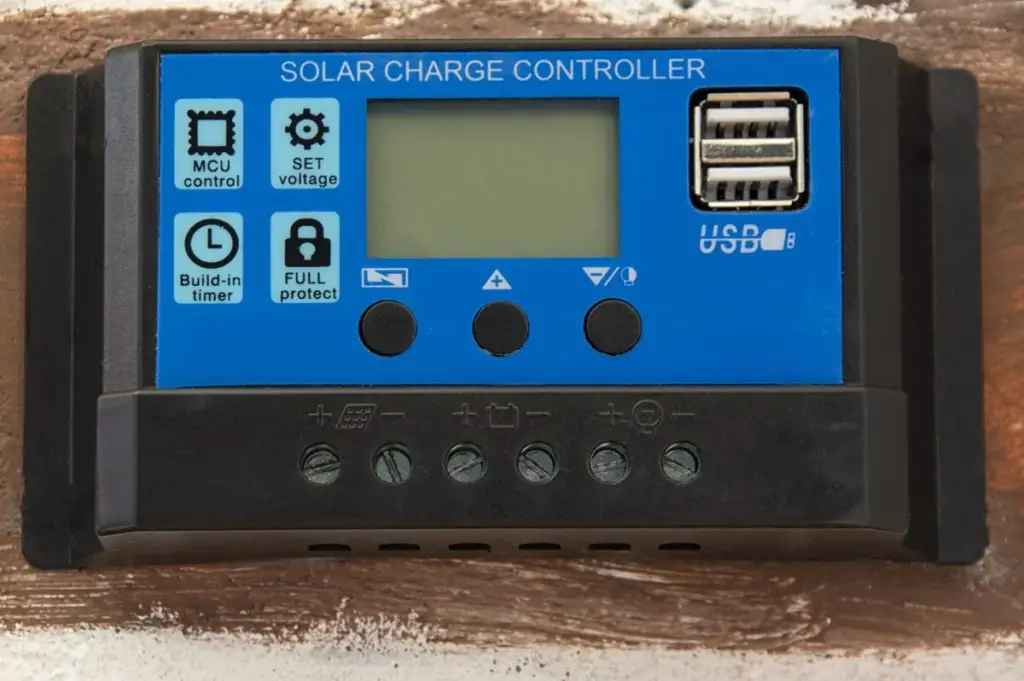
When linked, you can measure PV voltage, PV current, and Power output in watts.
This is simpler to implement with some charge controllers than others. Some have LCD screens, for instance, that display system specifications like PV current and PV voltage, which can be used to calculate wattage. Others can connect to your phone via Bluetooth, allowing you to track system performance and assess output.
Connect the Battery to the Charge Controller
- Battery and charge controller should be gathered as needed. For instance, you can pair a 12V 33Ah lead acid battery with a Renogy Wanderer 10A charge controller.
- Utilize a connector cable to join the positive terminals of the charge controller and the battery’s positive terminal.
- Utilizing a different connection cable, join the negative terminals of the battery and charge controller.
Connect the Solar Panel to the Charge Controller
- In order to connect a solar panel to the charge controller, you must first obtain one.
- Utilize a connector cable to join the positive terminals of the solar panel and the charge controller.
- Utilizing a different connection cable, join the negative terminals of the charge controller and the solar panel’s negative terminal.
Determine Power Output
- Find the PV voltage value by accessing the charge controller’s display. The PV voltage, for instance, might be 15.2V.
- On the display screens, locate the PV current value. For instance, the PV current that is presented might be 4.5A.
- Calculate the solar panel wattage by multiplying the PV voltage by the PV current. In this situation, 15.2 volts times 4.5 amps equals 68.4 watts.
- You may measure the output of the solar panels using the manufacturer’s app on your phone if your charge controller has Bluetooth functionality. Make use of the suitable Bluetooth module or built-in Bluetooth to connect your phone to the charging controller.
- Alternatively, you can still test the solar panel power output if your charge controller lacks Bluetooth. Look for other techniques or equipment that the charge controller maker may offer.
How to Use a Watt Meter to Measure the Output of a Solar Panel

Connect the Battery and the Solar Charge Controller
Establish a connection between the battery and the solar charge controller.
Connect the adapter cables and the watt meter
- The charge controller adapter wires and the watt meter should be connected in line.
- The watt meter can have one end attached to MC4 connectors and the other end attached to a wire.
- As an alternative, you can buy a watt meter with MC4 connectors already attached.
Connect the solar panel
- Connect the adapter cables from the charging controller to the solar panel.
- Measure the power output.
- Bring the solar panel outside, and position it in the sun.
- Your solar panel’s output will be measured by the watt meter, which will turn on immediately.
- In your situation, a 100-watt solar panel produced 24.4 watts under cloudy conditions, according to the watt meter.
FAQs
What voltage should a solar panel have?
There is no definitive answer to this issue because the voltage of a solar panel can vary depending on a variety of factors, including the type of solar panel being used, its size, and the environment in which it is being used.
To provide enough power for the majority of uses, a solar panel, as a general rule, must have a voltage of roughly 12 volts. You might need to modify the voltage if you’re utilizing a solar panel for a specific task that demands more or less electricity.
How often ought solar panels to be changed?
The kind of solar panel utilized and the environment in which it is installed determine this. Solar panels can endure for many years, but if they are subjected to extreme weather or if they are not well maintained, they may need to be replaced sooner. A solar panel typically lasts 20 to 25 years. However, due to deterioration or corrosion, certain solar panels could need to be replaced after 10 to 15 years.
Final Words
You can assist in ensuring that your solar panels are functioning properly and that they are still supplying enough clean solar energy to meet your needs by regularly inspecting them.


