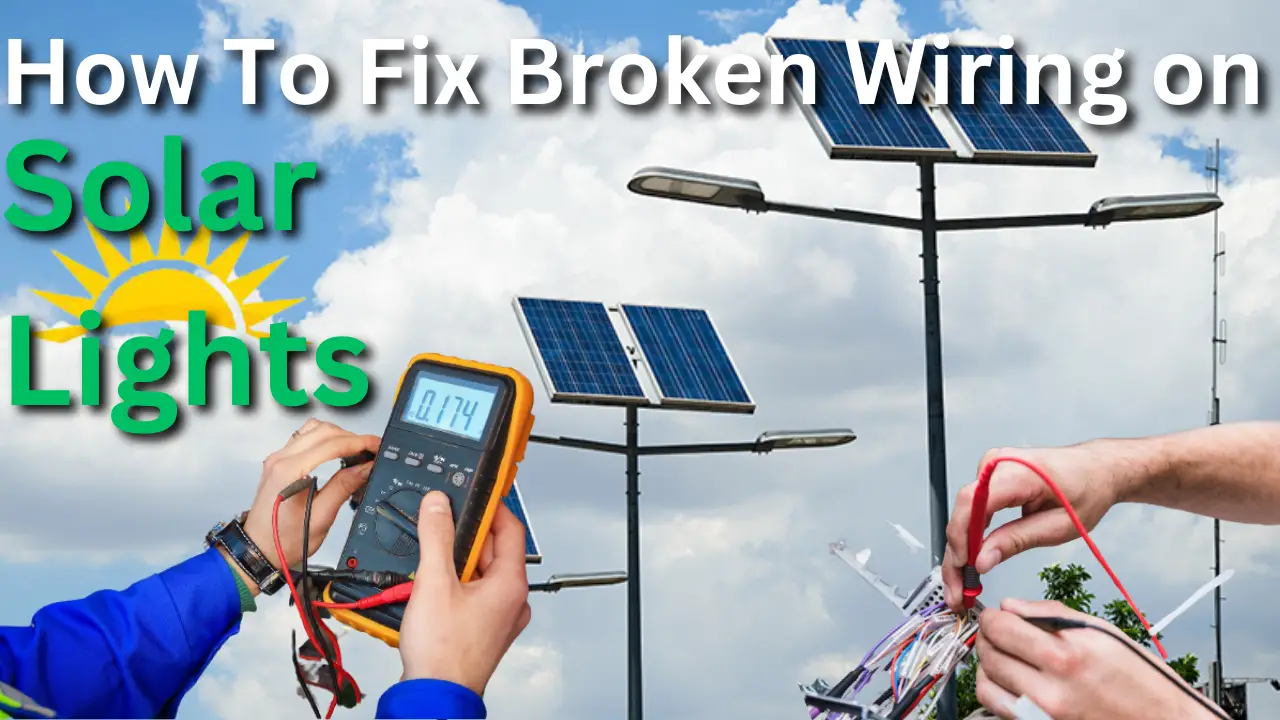
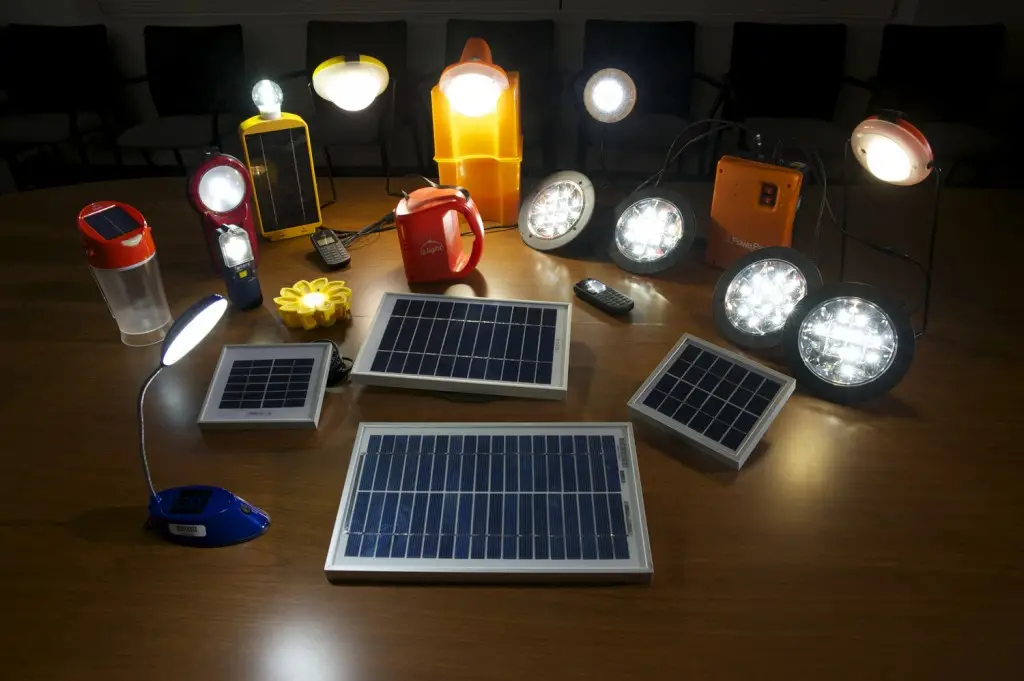
Solar lights are a popular choice for outdoor lighting, as they rely on renewable energy from the sun and do not require any electricity or wiring. However, like any electrical device, they can develop faults over time. One common problem with solar lights is a broken wire, which can cause the light to stop working or flicker on and off.
If you’re not an electrician, don’t worry; fixing cables is not difficult. If you have the correct amount of patience and instruction, it’s simple. In this article, we will walk you through five simple steps to fix a broken wire on solar lights.
To give you a quick idea, to fix broken solar lights, first, identify the wiring issue, then use a multimeter to troubleshoot and find the issue; finally, repair a damaged wire by fixing the circuit board terminal or repairing or replacing the wiring. To fix frayed wires, use a soldering iron to solder and cover the twisted wires.
How to fix the broken wire on solar lights
Step 1 – Preparation & Safety
Tools You Need for Repairing Wires
The tools you’ll need for inspecting and fixing the wiring are:
- Multimeter – a device used to measure voltage, current, and resistance.
- Phillips head or flat head screwdriver – a tool used for turning screws with either a cross-shaped or flat tip.
- Wire stripper and crimper – a tool used to remove insulation from wires and crimp connectors onto them.
- Soldering iron – a tool used to join metal parts together.
- Lead-free solder – the material used for soldering that doesn’t contain lead.
- Silicon paste – a thermal interface material used to transfer heat between electronic components.
- Rosin paste flux – a material used to clean and prepare metal surfaces for soldering.
- Sponge – a tool used to clean the tip of a soldering iron.
- Safety glasses – protective eyewear worn to protect the eyes from debris and radiation.
- Heat shrink tubing – a tube that shrinks when heated, used to insulate wires and protect them from moisture and damage.
- Heating gun – a tool used to apply heat to shrink tubing or other materials.
What You Need To Know
You must be familiar with how to strip a wire correctly, how to solder, and how to check for connectivity before you can fix wires. You can skip forward if you are aware of these things already.
Using A Multimeter to Check Wire Continuity
Using a multimeter is an essential skill for anyone working with electronics, as it allows you to measure voltage, current, and resistance. One common use of a multimeter is to check wire continuity, which involves determining whether current can travel through the entire circuit.

Here’s how to check wire continuity using a multimeter:
- Connect the black probe to the “COM” port and the red probe to the ohm port on the multimeter.
- Turn the knob to the appropriate ohm setting. To check if the multimeter is working properly, touch both ends of the probes together, and the multimeter should show a reading of zero or a number very close to zero.
- Turn the knob to a resistance setting higher than that of your solar light resistance rating. If you don’t know the resistance value of your solar light, check the manufacturer’s specifications or search for the model online. If you can’t find the information, set the multimeter to the highest ohm setting and gradually reduce it until you get a reading from the multimeter.
- Connect the red and black probes to each endpoint on the solar light circuit and check if you get a reading. If you get a reading of 1 or “OL” at any point, it means that there is no continuity at that point in the circuit. This indicates a broken wire or a disconnected component that needs to be repaired or replaced.
Striping a Wire
Stripping a wire is a basic skill that anyone working with electronics needs to master.
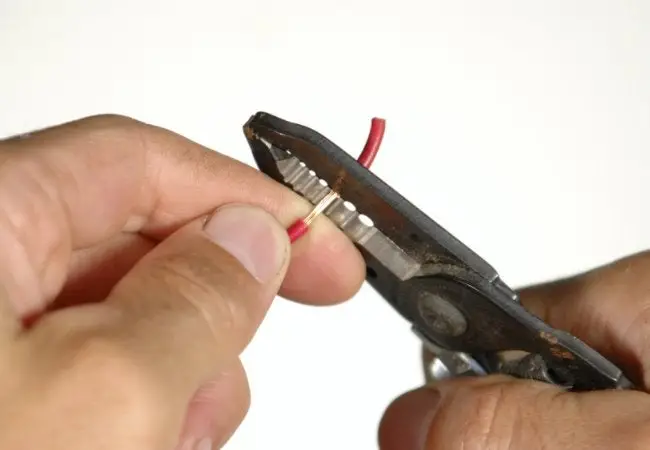
Here’s how to strip a wire:
- Look for the wire gauge specification of the solar light wire you have. This is usually printed on the cable sheath.
- Using a wire stripper, select the appropriate gauge slot that matches the wire size you’re working with. The wire stripper should have a slot that corresponds to the size of the wire you’re using, typically located about 1/2 inch from the end.
- Gently clamp the wire stripper onto the wire, making sure it is positioned correctly. Twist the stripper back and forth a few times until you feel the insulation cut off. Be careful not to apply too much pressure, as this could break the copper strands of the wire.
- Once you have cut through the insulation, pull it off, revealing the copper inside the sheath. Be careful not to pull too hard and break the wire strands.
- If you accidentally remove some of the copper strands, cut the wire and re-strip it. The fewer strands of copper there are in the wire, the higher the resistance will be. High resistance can cause the wire to heat up, which can lead to a fuse blowing or even a fire.
Properly Soldering Wires Together
Soldering wires is a process of joining two wire ends together by melting them. Before starting, ensure you have safety glasses on to protect your eyes from hot metal splashes.
Here are the steps to solder a wire:
- Strip the wire and slide a heat-shrink tubing at one end of the wire.
- Connect the two ends of the wires by intermeshing and twisting them tightly together.
- Clamp the wire with a helping hand before soldering and rub rosin flux on the wires.
- Heat the soldering gun and properly tin up the tip to speed up heat transfer.
- Place the tip of the soldering gun underneath the wire and feed a little bit of solder in between the tip and the wire.
- Feed the solder at the top of the copper strands, just enough to coat it, and let it cool.
- Use silicone paste and slide the heat shrink tube over the connection.
- Use a heat gun or lighter to compress the heat shrink tubing on the connection.
Step 2 – Determining the Kind of Solar Light Wiring Problems
Because each solar light is different, we will organize wiring issues into a few categories. Based on your solar light design, check the most likely issue first.
- Broken connections: A non-functional solar light can be caused by a broken or unscrewed light bulb or a parallel cable that is not connected at the terminal resulting in only half of the string of lights being on.
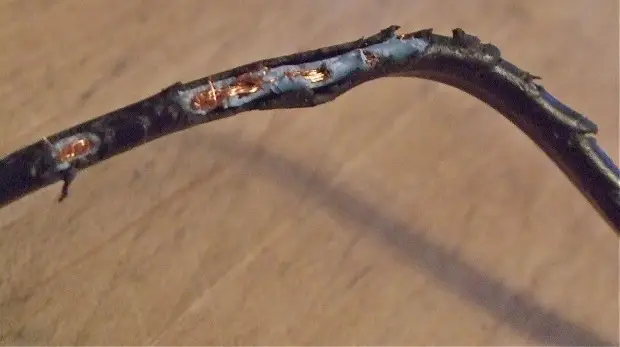
- Wildlife interference: Wildlife such as deer or squirrels may damage the wiring, so visually inspect for tattered or frayed wiring.
- Dirt and debris: Older solar lights may have dirt or debris shorting out the control board or faulty circuit board terminal, which can be checked by opening the housing.
- Too much stress: If a solar light is encircled by a tree or post, the wiring may become overly stressed and break. Use a multimeter to inspect this issue.
Inspection of Solar light
To inspect the wiring of a solar light, first, check for any rips or loose connections. Multimeters are useful for troubleshooting wiring issues and will show where power is not being received. However, be cautious as the wiring will be live and may shock you.
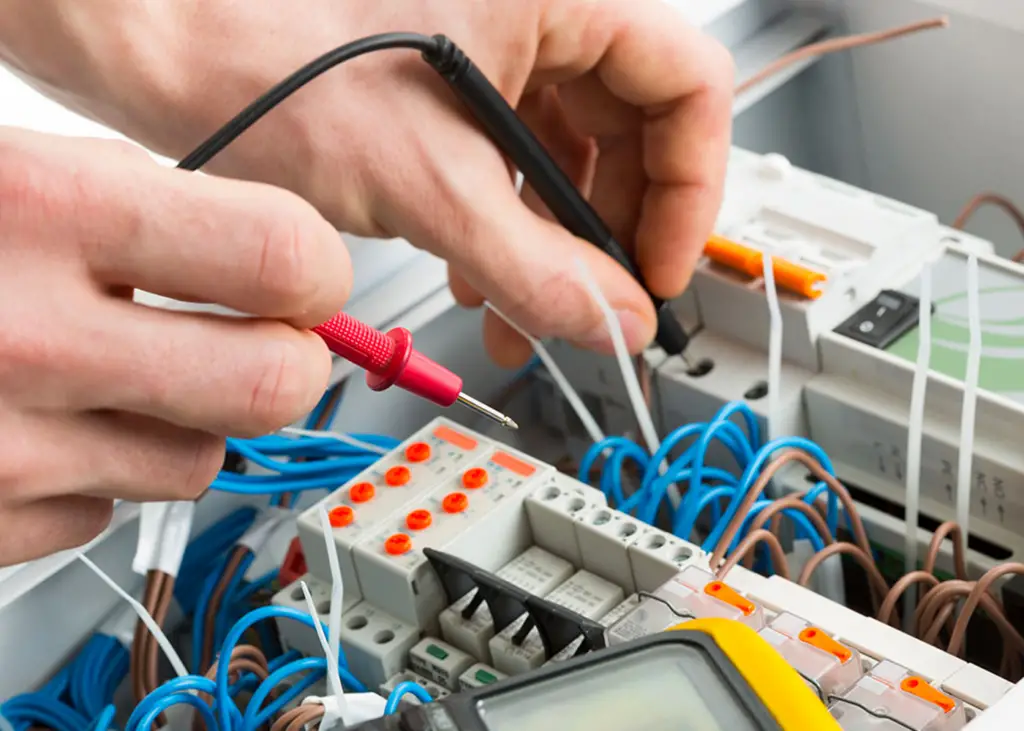
To use a multimeter, plug the red and black probes into the front ports, with the red probes for V-mA and the black probe for COM. Start by checking the multimeter’s operation by putting the probes on your fingers, which generates some current. The multimeter should briefly jump before settling near zero.
Next, switch the V-mA to resistance and set it to a higher resistance than your solar light, which you can find through a Google search. Then, place the probes on the circuit ends of the solar light. An OL reading indicates an open loop; a 1 reading indicates no continuity, and a zero or near-zero measurement indicates electrical continuity.
Step 3 – Fixing a Damaged Wiring in Solar Lights
You are now prepared to discover how to mend a damaged wire on solar lights. One of the following three possibilities is most likely the wiring issue:
- Circuit board terminal with a connection issue
- Wiring crack that needs to be repaired with solder
- Wiring that is defective and has to be changed
Repair Solar Light Circuit Board Wiring
To repair the broken connection on the circuit board of your solar light, you can follow these steps.
- Firstly, locate the black chip on the circuit board with four pins, which is typically marked as “5252”.
- Pin 1 on the chip represents the solar panel, while pin 2 represents the battery. Pin 3 denotes the circuit ground, and the LED light is connected to pin 4. Both pin 2 and pin 4 should have a resistor-like inductor.
- If your chip looks the same but does not have “5252” marked on it, you can still proceed by identifying the pins. S+ represents the solar positive, L+ represents the LED positive, and B+ denotes the battery positive. The only remaining pin is the circuit ground.
- Once you have identified the correct pins and wiring, you can proceed with repairing the broken connection on the circuit board of your solar light.
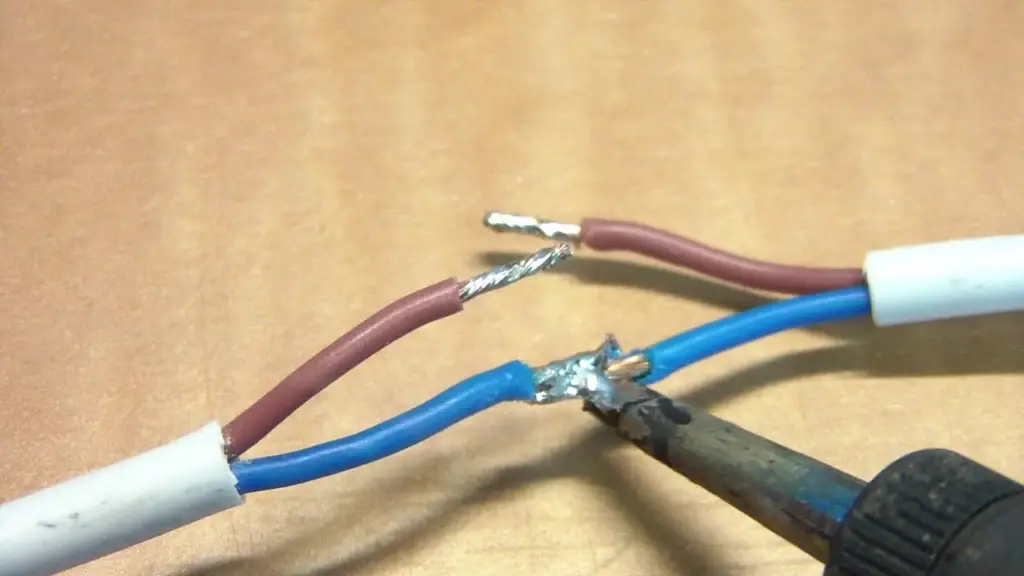
Soldering Frayed Solar Light Wires
To fix frayed wires in your solar lights, you’ll need to use a soldering iron. Before you begin, make sure the battery is removed and the switch is turned off. Cut away the damaged section of the wire and strip both ends to expose about 3/4 inch of wiring. Then, slide heat shrink wrap onto one of the wires, making sure it won’t get in the way of soldering.

Next, twist the two exposed wires together and apply Rosin Paste Flex to the twisted wiring. Heat up the soldering iron, apply some lead-free solder to the tip, and place it on the twisted wiring. Wipe the soldering iron with a damp sponge and repeat this step until the exposed twisted wiring is completely covered with solder. Once done, add silicone paste to the soldered area and slide the heat shrink wrap over it.
Finally, use a heat gun to tightly bind the heat shrink wrap to both wires. With these steps, your solar light’s frayed wires should be fixed, and the light should be functioning again.
Removing Faulty wiring
However, if the faulty wiring is more extensive than just one light, then you will need to replace the entire light string. This can be done by purchasing a new set of lights and replacing the old ones completely.
To do this, start by turning off the power source to the lights and removing any batteries. Then, remove the old light string by cutting the wiring at both ends and removing it completely.
Next, take the new light string and attach it to the old wiring using wire connectors. Make sure to match the colors of the wires and twist them together securely. Once you have connected all the wires, wrap them with electrical tape to ensure that they stay in place.
Finally, test the new light string to make sure that it is working properly before re-installing it. Once you have confirmed that the new lights are functioning correctly, you can re-attach them to your desired location.
Step 4 – Test the Solar Light
After fixing a solar light wire, test it to make sure it works. Charge the batteries. The solar light would need three hours of direct sunlight if the wiring fault was in the solar panels.
Plug in the batteries. Check sure all the lights turn on when you flip the switch. If so, you corrected the wiring. Repeat steps 2 and 3 until you find and fix the wiring problem.
Step 5 – Clean Up and Recycle!
After completing the task, the work continues. Leave the site clean. Recycle extra wiring. Recycle any batteries you replaced. Solder spatter from earlier soldering may need cleaning. Cleanliness is safety.
Conclusion
Solar light wiring repair may appear complex. Learning how to use a multimeter, strip wires, and solder helps simplify the repair procedure. These steps provided in this article can help you address numerous home electrical issues, including fixing your solar light wirings.